
Derwent Edge Walk: Peak District Circular with Salt Cellar
InWanderment contains affiliate links. If you make a purchase or a booking using these links, we may receive a commission at no extra cost to you. This helps with the cost of running InWanderment. See our Privacy Policy page for more information. We appreciate your support!
The Derwent Edge walk is one of the most rewarding ridge walks in the Peak District, combining dramatic rock formations with wide open views across Ladybower Reservoir and the surrounding hills.
For photographers, this route is particularly special. It’s my personal favourite walk for landscape photography around Ladybower and it includes the famous Salt Cellar, widely considered one of the best landscape photography spots in the Peak District.
As someone who lives locally and spends a lot of time hiking and photographing in the area, including completing the Peak District 100km hike. I’ve spent plenty of time exploring these trails. This guide shares exactly how the route unfolds so you can plan the walk with confidence.
This walk suits hikers who enjoy open landscapes and steady climbs rather than technical terrain. Navigation is mostly straightforward, but some sections rely on small path markers and can feel exposed on the moor.
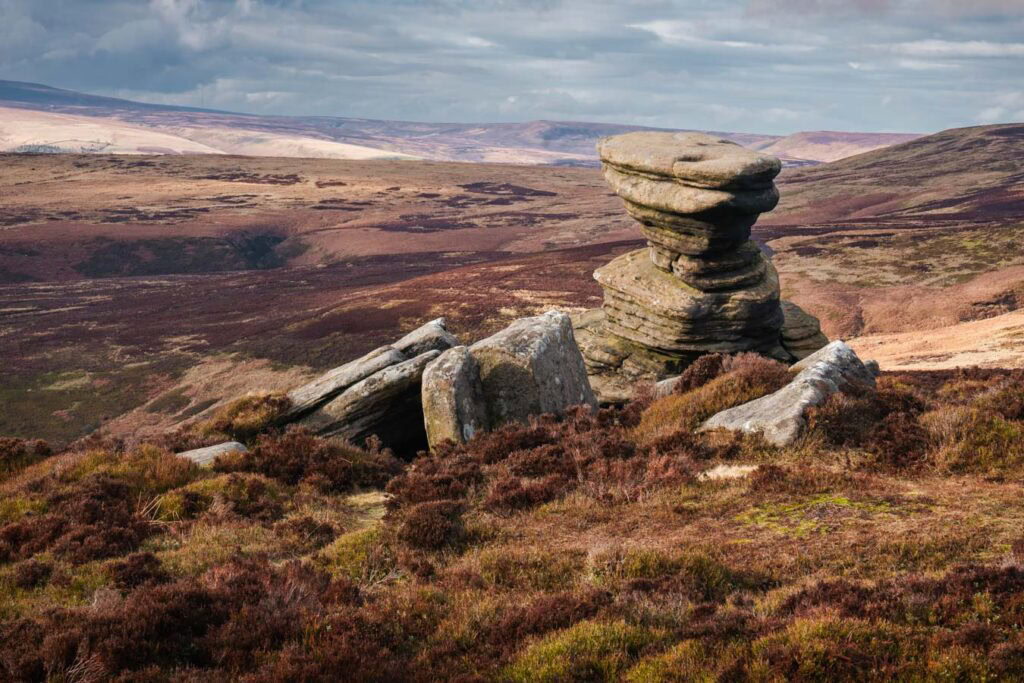
This Derwent Edge walk is a 16.8 km circular hike from Cutthroat Bridge featuring Back Tor, Lost Lad and the famous Salt Cellar viewpoint.
At a Glance
Distance: 16.8km
Time required: 5-5.5 hours
Difficulty: Moderate
Elevation gain: 581m
Route type: Circular
Start location: Cutthroat Bridge Car Park
Coordinates: 53.3832907278722, -1.6769114609679778
Parking situation: Free roadside parking at Cutthroat Bridge car park
Postcode: S10 4QZ
Toilets: No toilets except from Ladybower Inn which is right at the end of the hike
Food nearby: Ladybower Inn is a great place to stop for a warm meal at the end
Dog friendly: Yes
Child friendly: Yes for older children as it is a long hike
Navigation difficulty: Moderate
Terrain: Moorland paths, rocky sections and descending hillside tracks
Mud level: Can be muddy in places depending on conditions
Phone signal: Good
Best season: August – Sept for the heather season
Best for: Big views, dramatic rock formations and landscape photography
Not ideal for: Walkers wanting a short or completely flat route
What is derwent edge?
Derwent Edge is a dramatic gritstone ridge in the Peak District overlooking Ladybower Reservoir.
The ridge forms part of the eastern side of the Upper Derwent Valley and is known for its distinctive rock formations such as Back Tor, the Salt Cellar and the Coach and Horses.
Today the area is managed partly by the National Trust and is one of the most popular walking locations in the Peak District thanks to its sweeping views, moorland landscapes and unique gritstone tors.
Derwent Edge Walk Map
This map shows the full Derwent Edge route used in this guide and makes it easy to follow the route from start to finish across the moorland ridge.
Parking & Getting There
The Derwent Edge walk starts from the free parking area at Cutthroat Bridge. There is also another smaller area where you can park right next to the stone bridge. But it’s usually full.
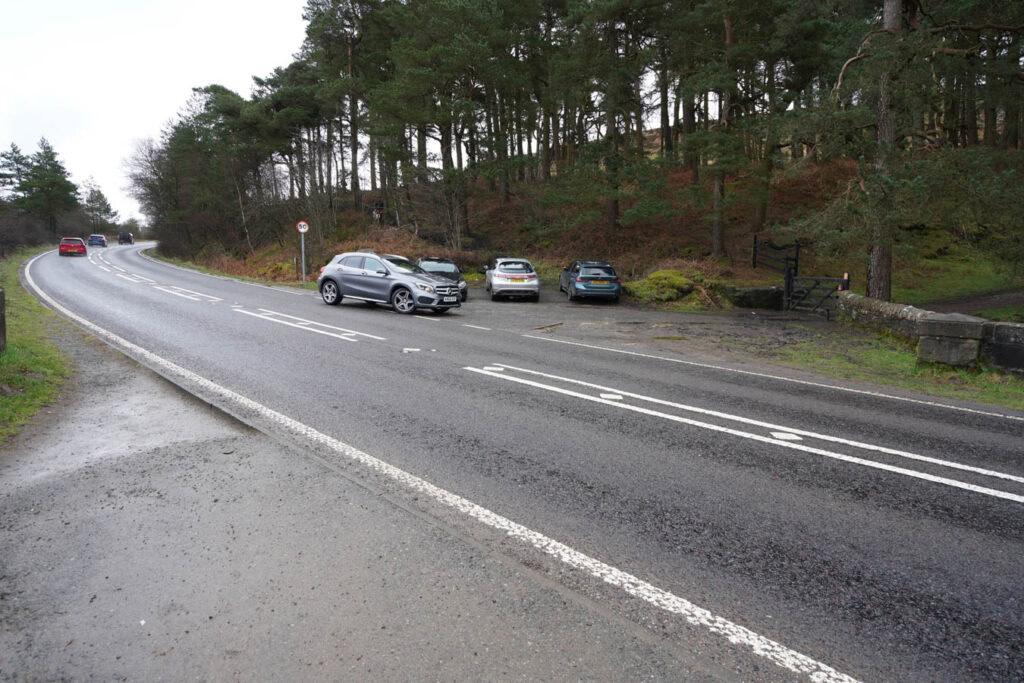
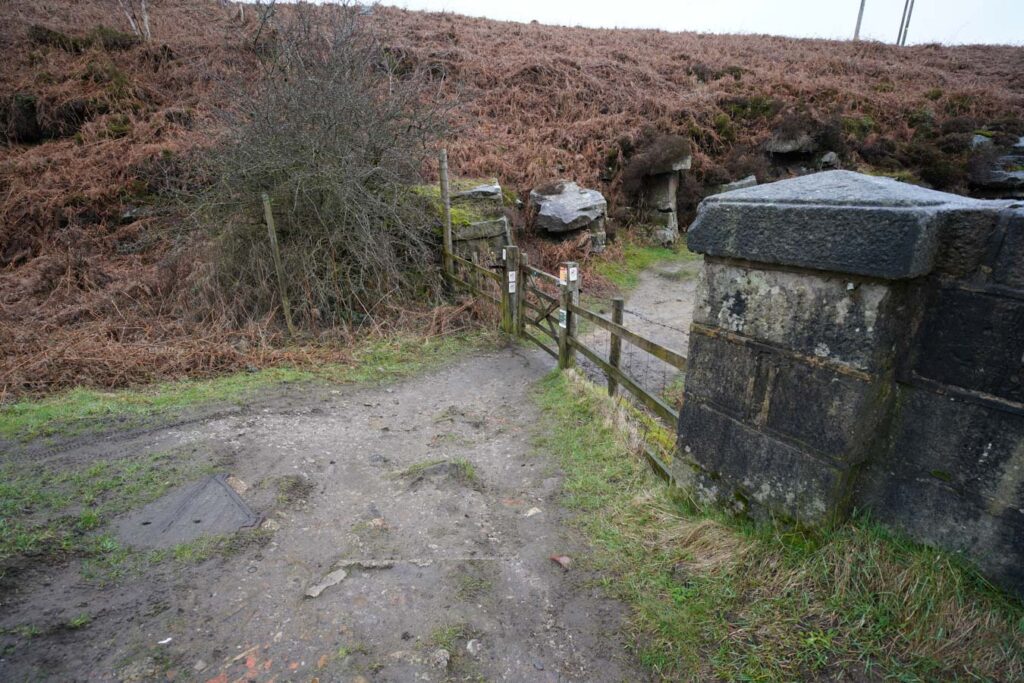
From the Cutthroat bridge car park, walk down the road until you reach a stone bridge. Cross the bridge and go through the wooden gate to join the path leading out onto the moor.
Parking here is free, which makes it a popular starting point for exploring Derwent Edge in the Peak District. Arriving earlier in the day can make finding a space easier.
If you’re visiting during the busiest periods (school holidays etc) then you might struggle even struggle to find a parking spot at Cutthroat Bridge car park. There is a paid car park by Ladybower Inn, although it does cost £3 per hour. The good thing is that due to the price there’s almost always room to park there.
Route Overview
This Derwent Edge circular walk climbs steadily from Cutthroat Bridge onto the high ridge of Derwent Edge where dramatic gritstone formations dominate the skyline.
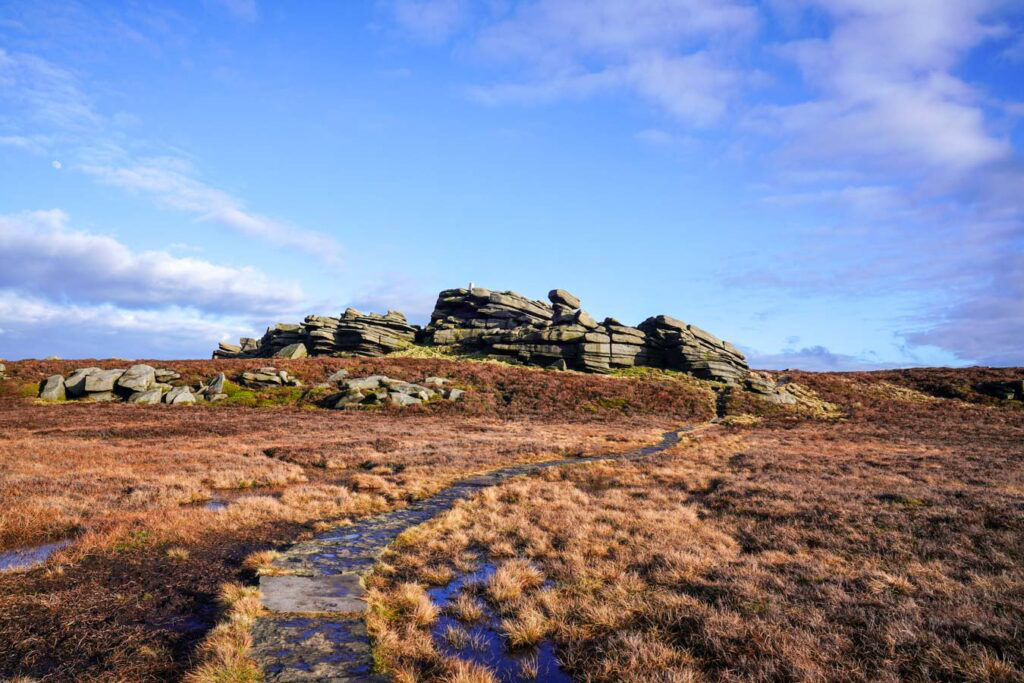
The route passes several rock formations before reaching the famous Salt Cellar, one of the most photographed spots in the Peak District. From there, the walk continues along the edge before descending through open hillside with views across Ladybower Reservoir.
The final section follows a quiet road near the reservoir before returning back to the starting point.
Derwent Edge Walk – Step by Step Route Guide
The Derwent Edge hike begins at Cutthroat Bridge car park. From the parking area, walk down the road until you see a stone bridge. Cross the bridge and go through the wooden gate to join the path heading out across the hillside.
Continue following the moorland path which will gradually ascends the hillside. You’ll reach a crossroads. One direction will lead you back down into the valley where you’ll see a fantastic view ahead of you. But you’ll want to take the path to the right that carries on up to Derwent Edge.
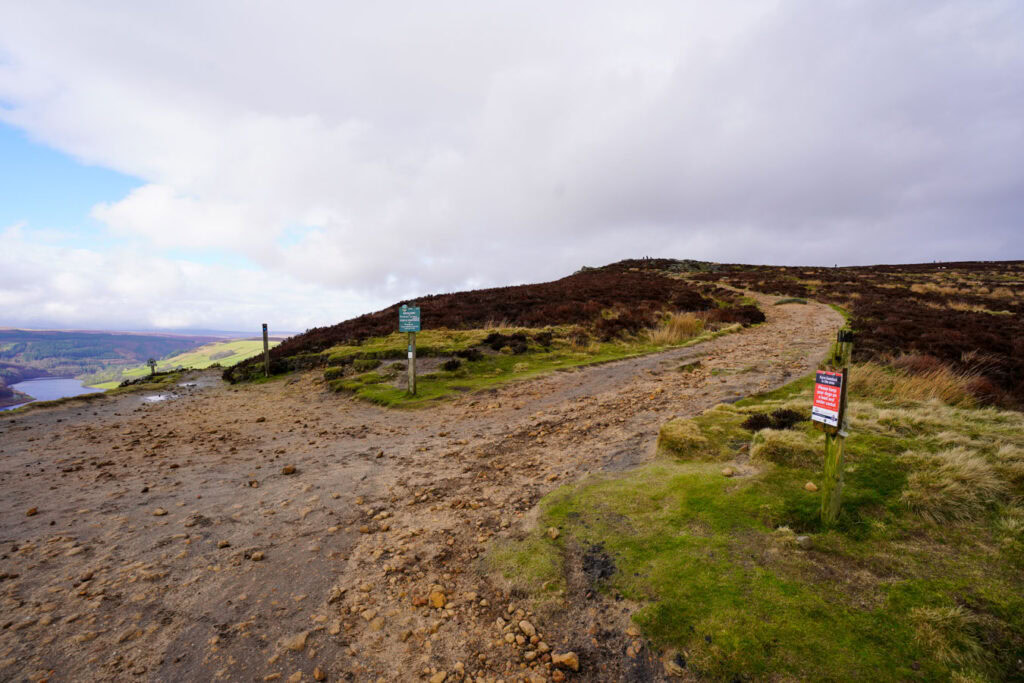
The path is easy to follow and gradually climbs as you head towards the ridge. As you gain height, you’ll start to see rock formations scattered across the landscape on your left.
Before long you’ll reach the first real viewpoint along the Derwent Edge walk called Whinstone Lee tor. From here you’ll see sweeping views of Ladybower Reservoir stretching out below you with the surrounding hills rising behind it.
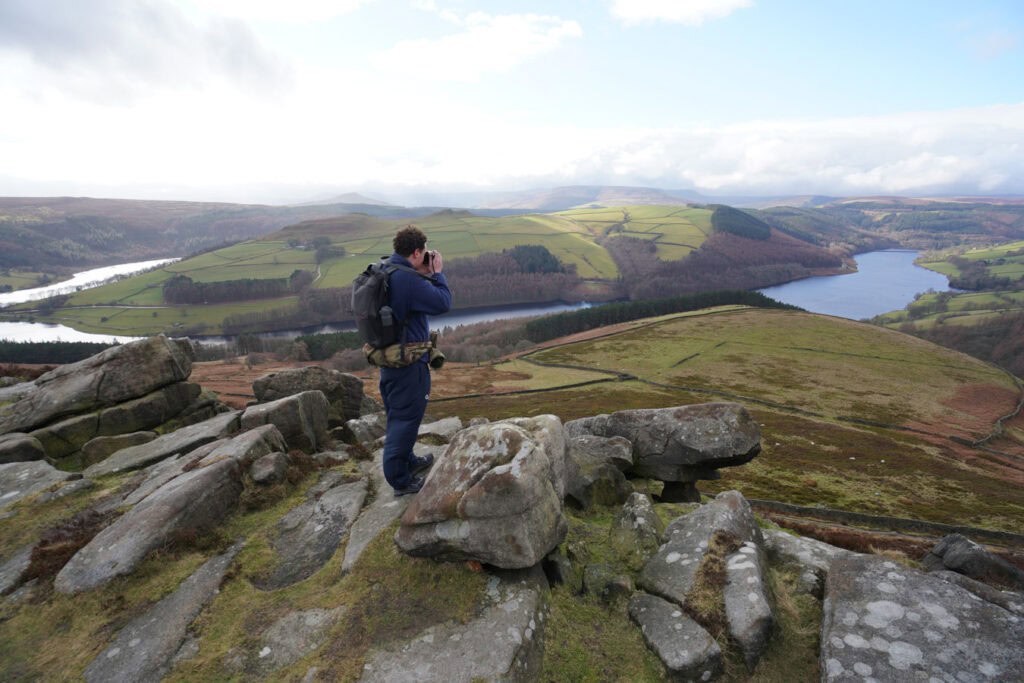
This is a fantastic spot for landscape photography. I’ve visited this viewpoint a few times and managed to get some great shots here, especially during heather season in late August when the hillsides start to turn purple.
After stopping for a few photos you can now carry on down the path towards the coach and horses rock formation in the distance.
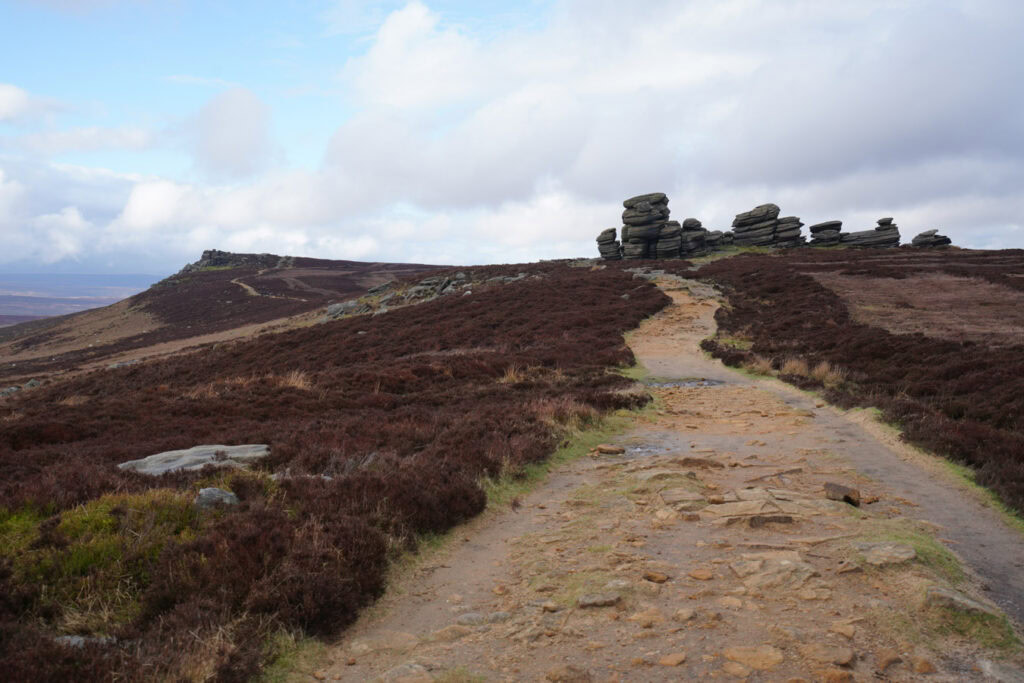
Continue walking along the path until you reach a sign for the National Trust Derwent Edge. At this sign, take the left turn which briefly feels like you are backtracking before heading over the brow of the hill.
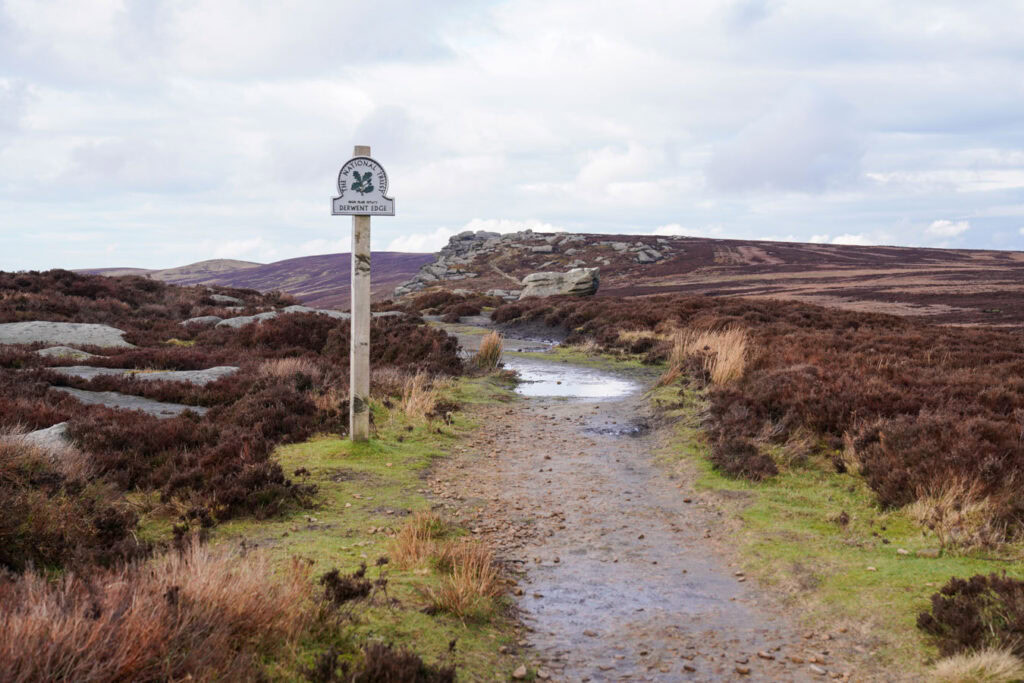
Just over the rise you’ll find the famous Salt Cellar, one of the most popular photography spots along the Derwent Edge walk. The rock formation stands dramatically on the edge of the moor with huge landscapes stretching out behind it.
When I visited with my friend Kai, the weather was overcast and we didn’t expect much for photography. But just as we reached the Salt Cellar, the clouds parted for a few minutes and beautiful afternoon light illuminated the rocks and the landscape behind them. It turned into one of my favourite moments of 2026 so far.
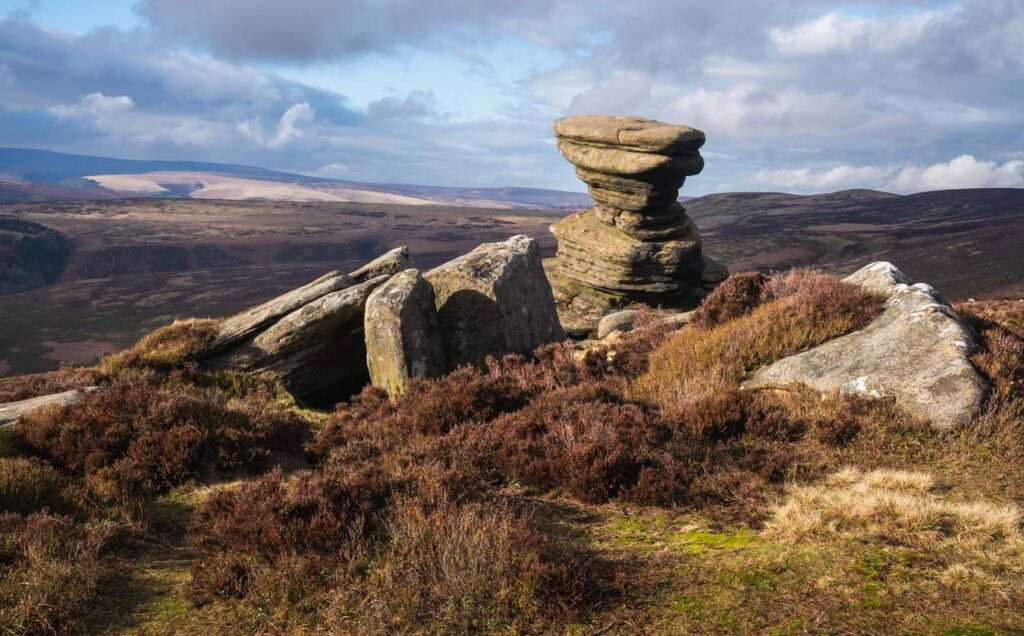
After visiting the Salt Cellar, return to the main path and continue along the ridge. The route eventually reaches a paved stone path, but despite the slabs this section can become very boggy, especially after wet weather.
Fortunately I came prepared with hiking boots and gaiters. Kai, on the other hand, was just wearing trainers and spent most of the time hopping between the stones trying to avoid the water that had overflowed across the path. One slightly misplaced step later and he ended up with a very soggy foot.
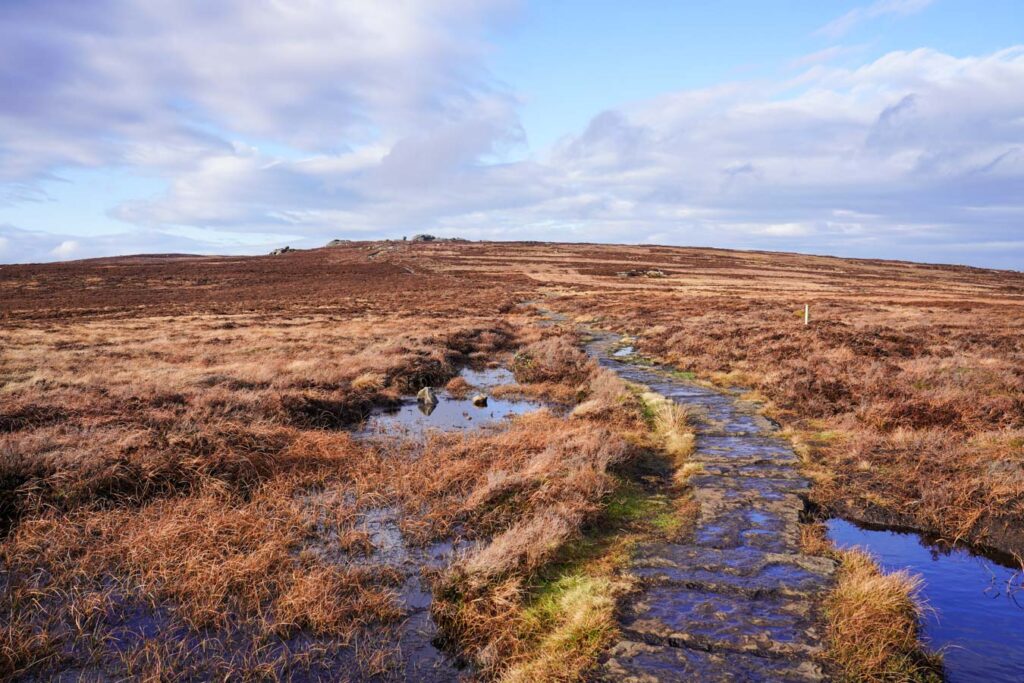
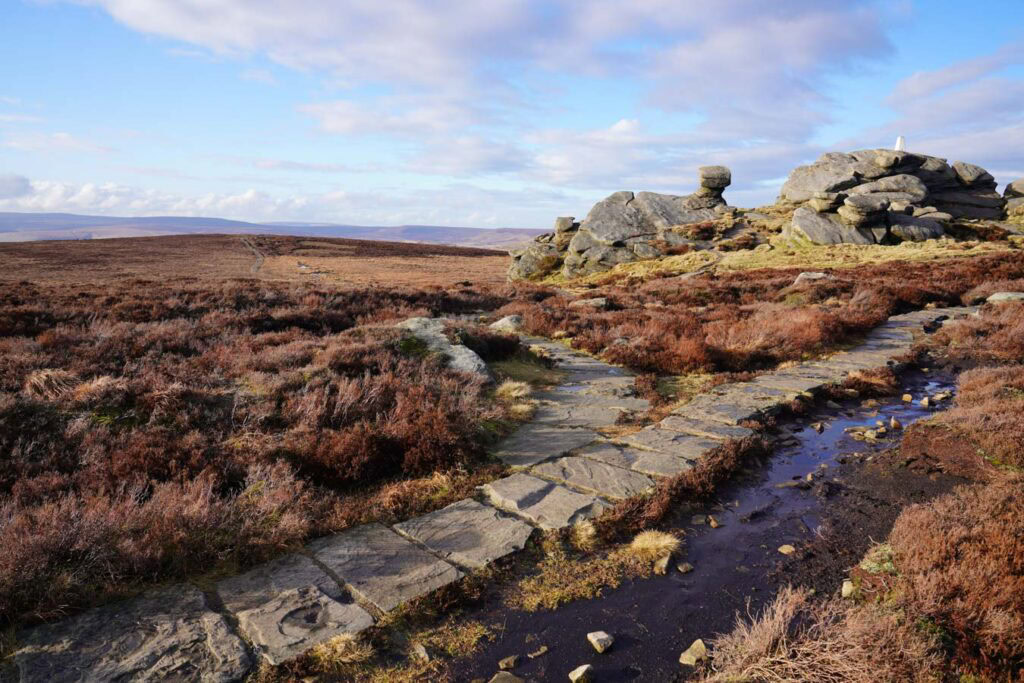
Continue along the paved stone path and you’ll eventually reach a rock formation marked with a summit stone. This is the summit of Back Tor. Just before you reach the rock formation, you’ll notice a fork in the paved path. Take the left fork here to continue the route.
Along the path you’ll soon reach another summit marker at Lost Lad. Continue past the marker and follow the path as it begins to descend downhill, leading you away from the main ridge.
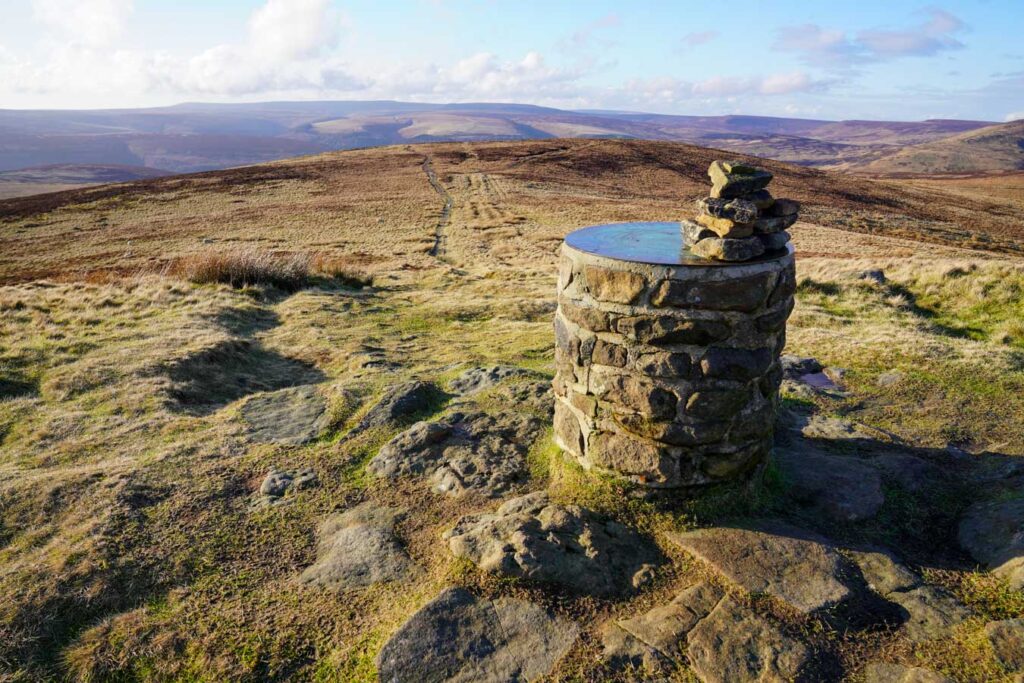
After Lost Lad, the path leads you out across open moorland where there aren’t many obvious landmarks.
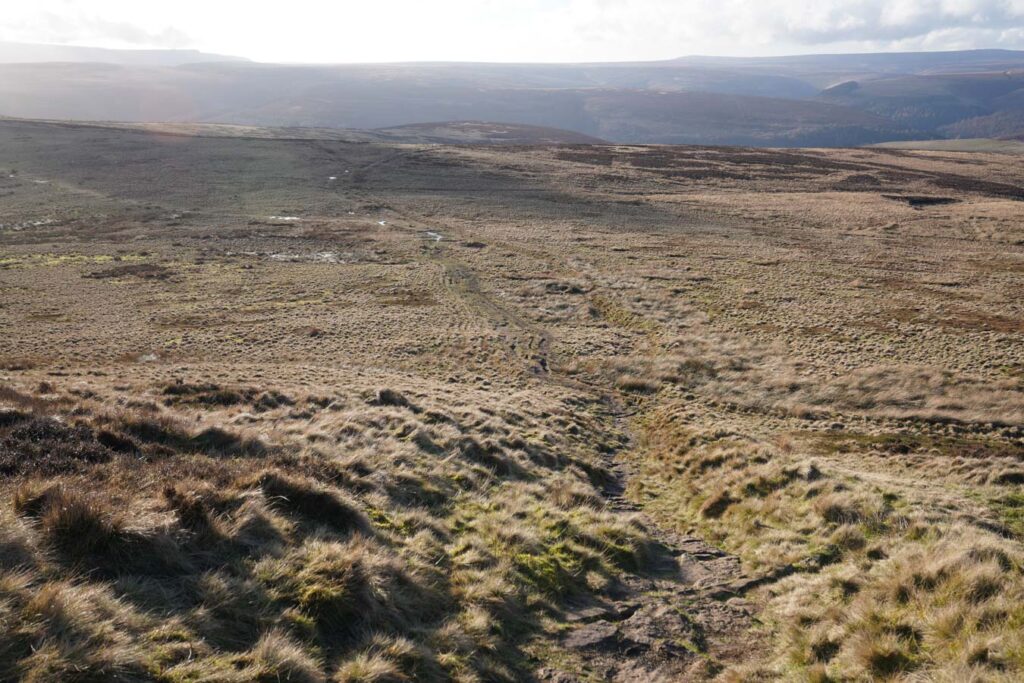
Don’t worry though, simply continue following the main path without taking any turns. After a while you’ll eventually reach a crossroads in the path marked by a stone marker that has partially fallen. The marker still points in the direction you should follow.
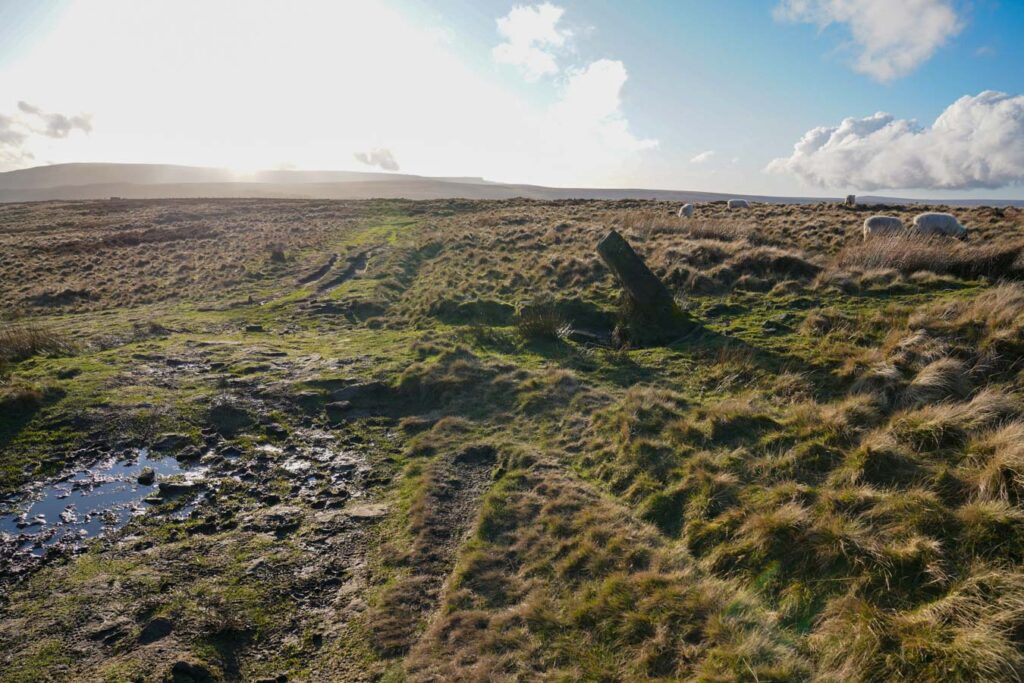
Continue down the track until you reach a wooden signpost where you need to bear left. From this point on you’ll be following a public footpath marked by wooden signposts. Simply continue along the path, following the posts as they guide you in the right direction.
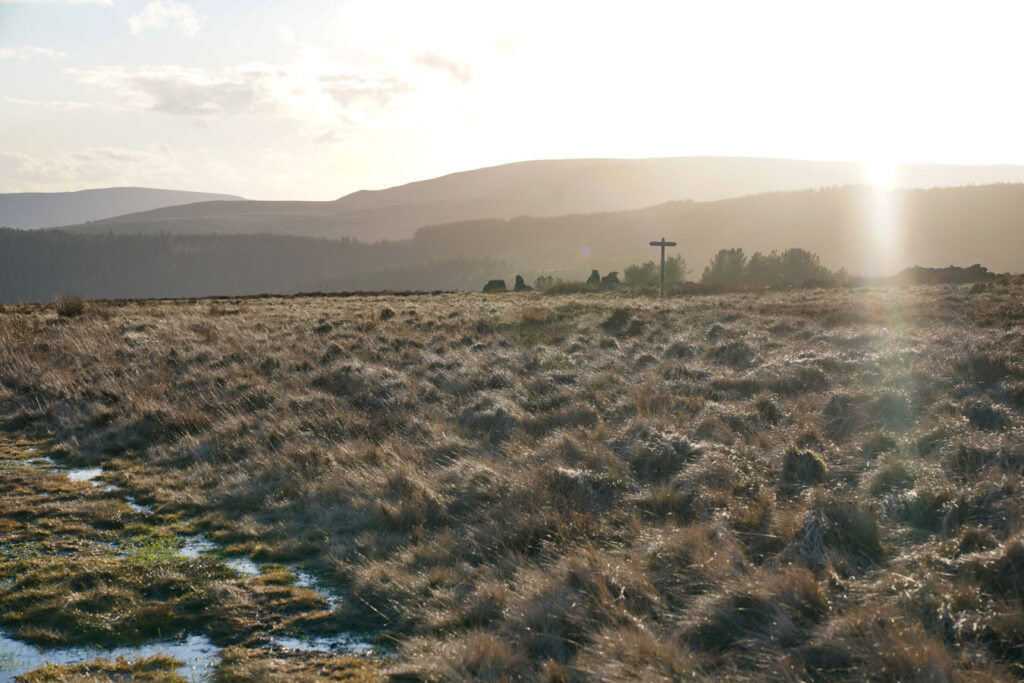
After going left at the first wooden signpost, follow the track until another wooden post where you bear right. In front of you you’ll notice a broken stone wall.
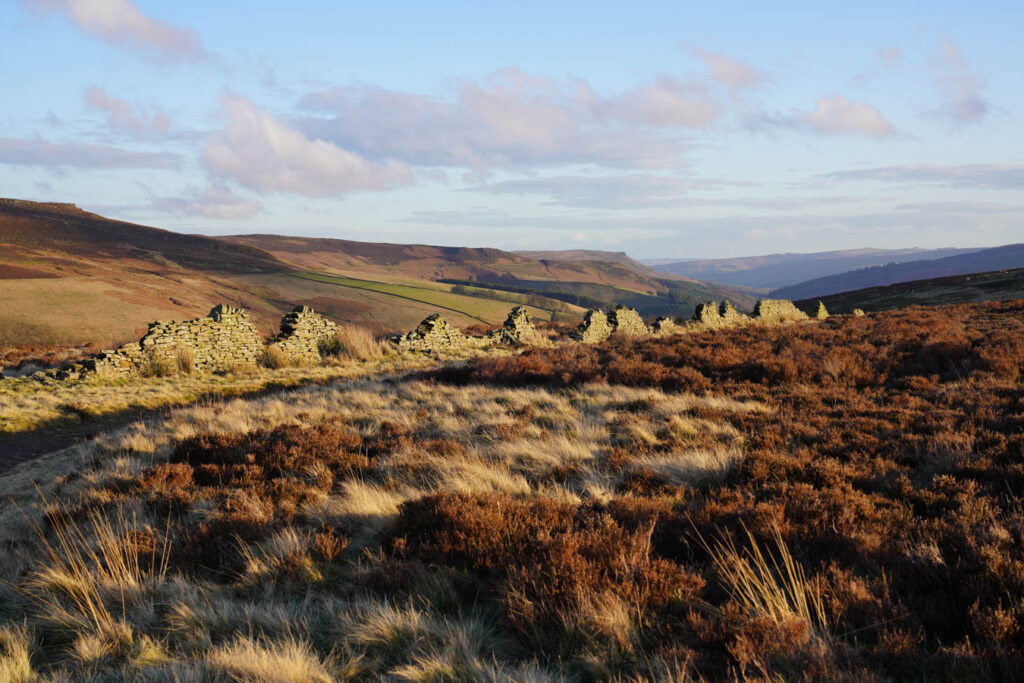
This spot creates a fantastic photo opportunity along the Derwent Edge route, especially if you use the broken wall as a foreground element with the hills behind it.
Continue walking with the broken stone wall on your left until you reach another wooden post. Bear left where you’ll see another stone wall ahead. Do not pass through the gate in the stone wall, go left where the wooden signpost points.
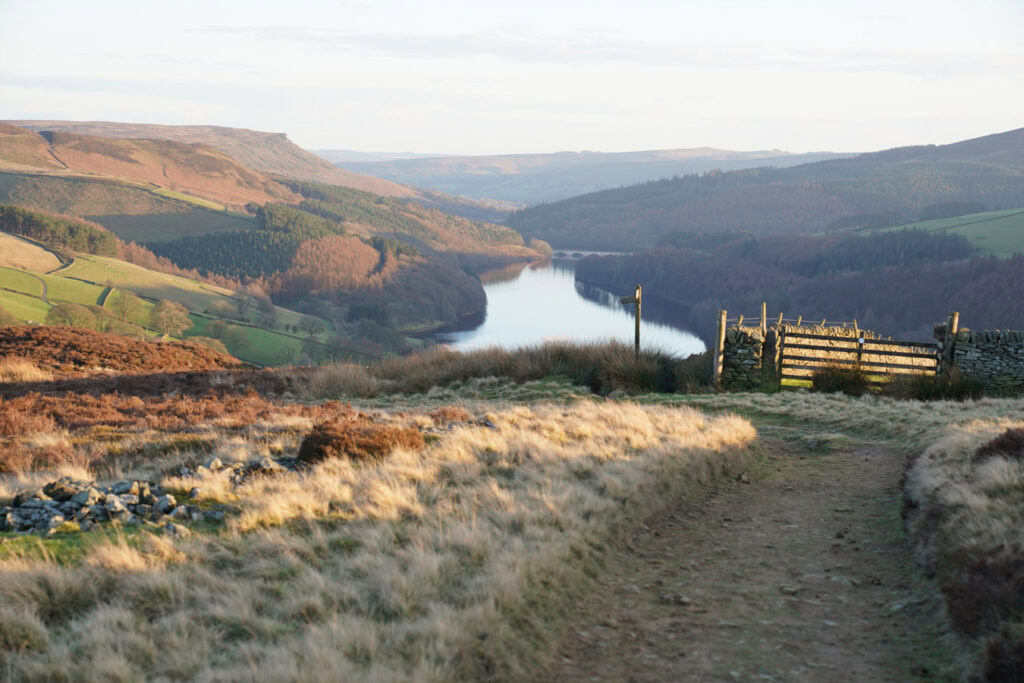
Follow the path down towards a wooden gate where the landscape opens up and Ladybower Reservoir begins to spread out below you. When we reached this viewpoint the sunlight lit up the water beautifully and it looked incredible. Cameras were clicking and we were both smiling.
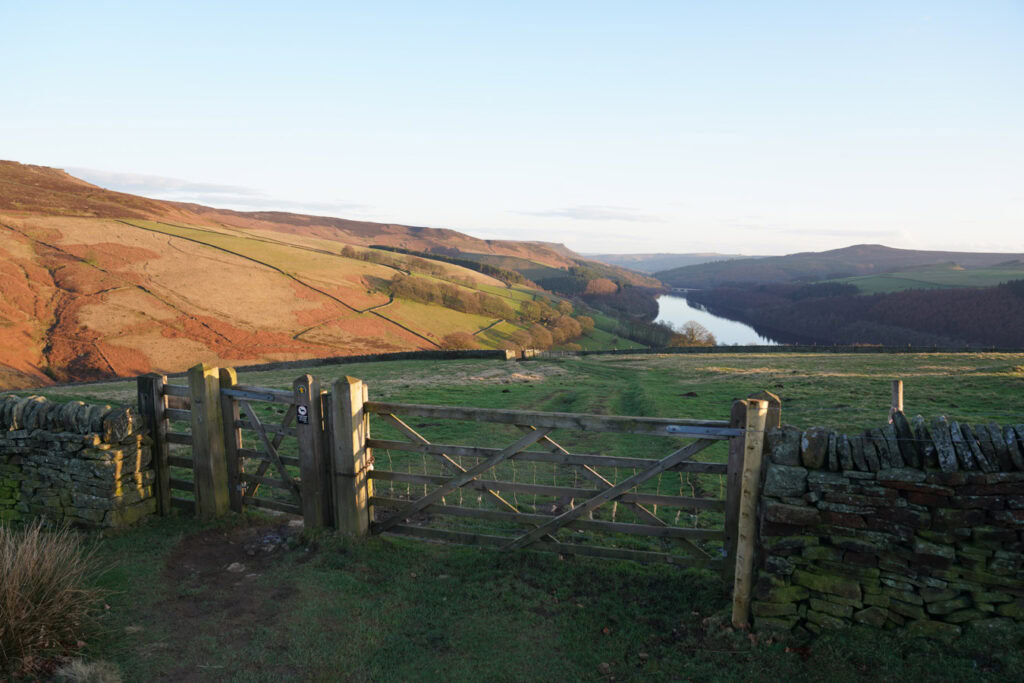
You’ll soon reach a narrower path that leads toward a farm. Instead of following the winding track down the hill, go through the wooden gate marked “Footpath” just to the left of the farm gate. From there, follow the path as it continues down the hill.
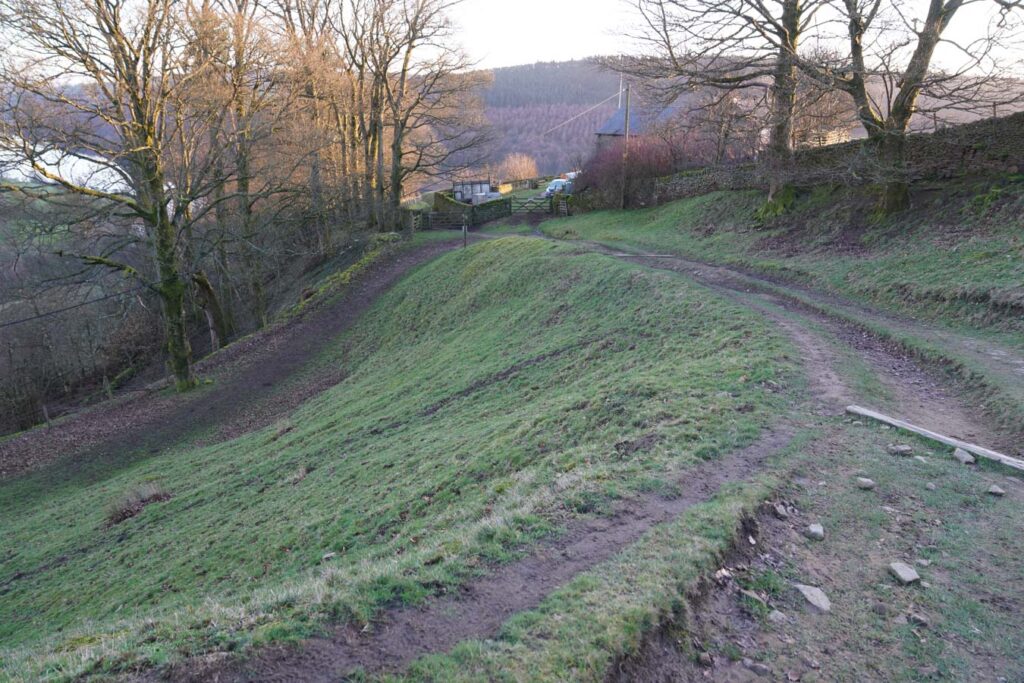
You’ll now pass through several gates marked with footpath signs. Along the way there are a few paths branching off to the left, but these are marked as private property. Ignore those and simply continue following the public footpath as it leads you down the hill.
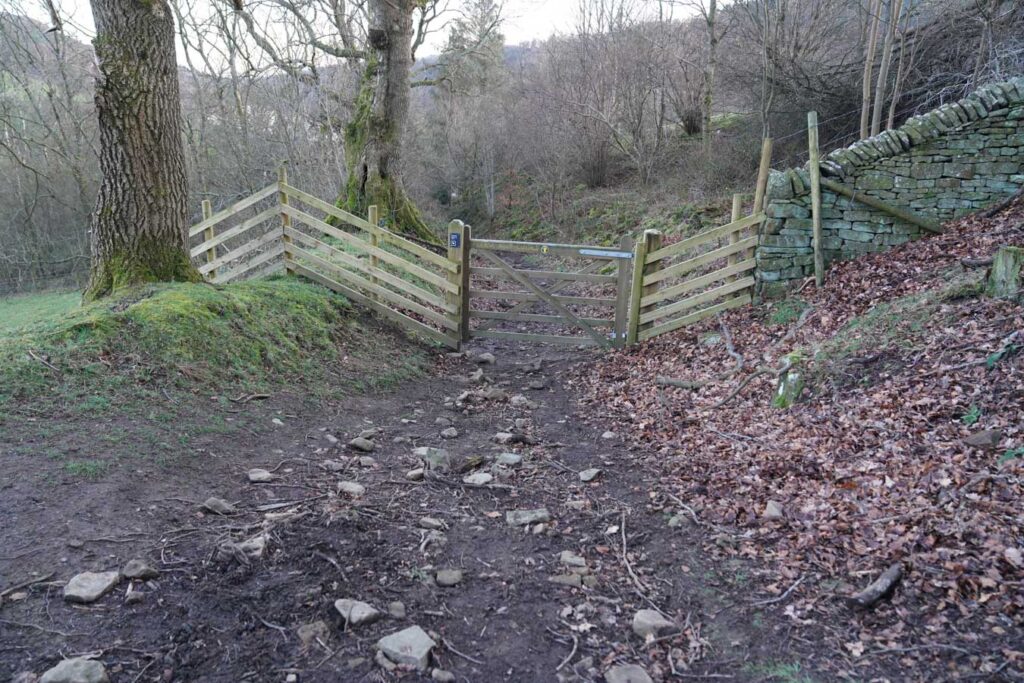
The route eventually reaches gate which leads to the main Ladybower Reservoir path. Take a left and follow the road while keeping the reservoir on your right.
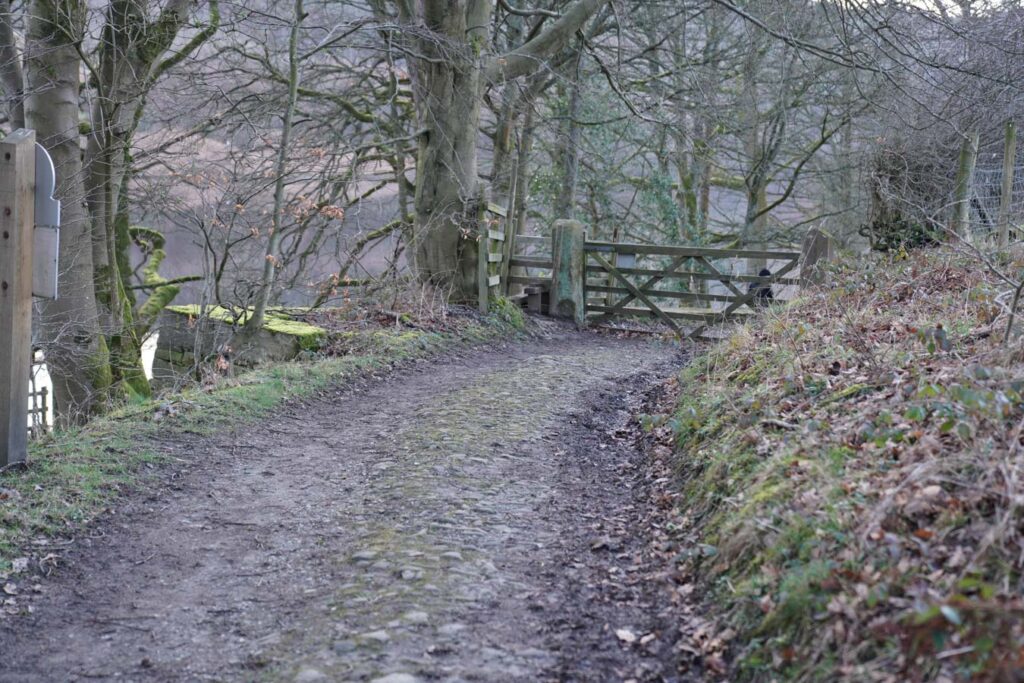
You’ll eventually reach a road bridge crossing the reservoir. Turn left away from the bridge, then continue along the road next to the roadside parking. Once you get to a junction at the end of the roadside path, cross straight over.
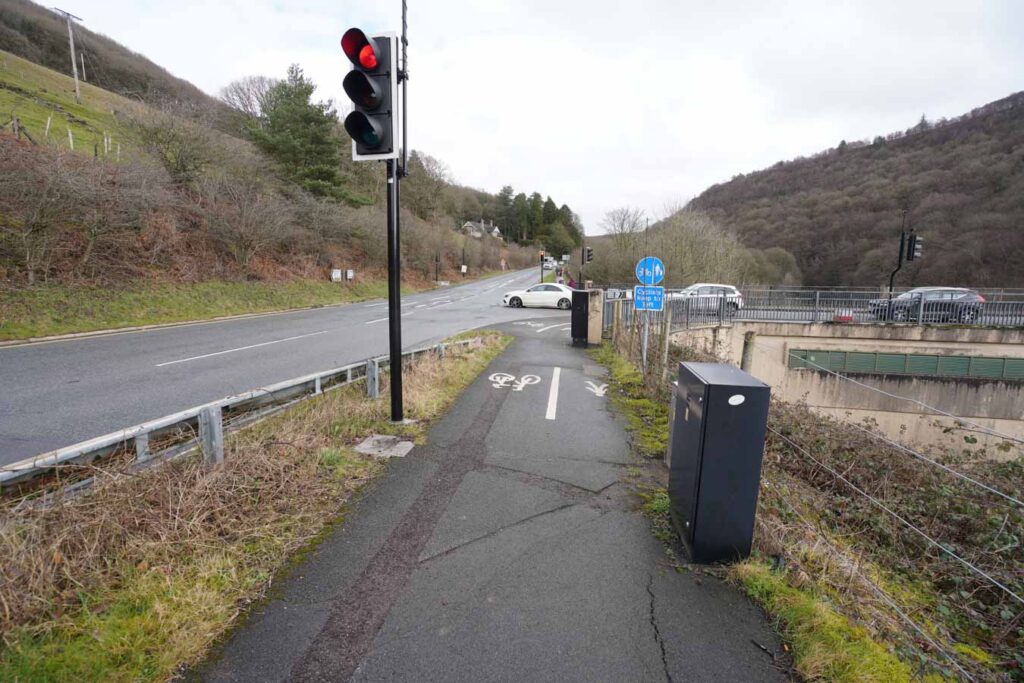
Along this road you’ll see the Ladybower Inn. At this point Kai and I stopped for a pint and some food. It’s a great spot to get a well deserved meal as it’s on the route.
Just past the pub there’s a stony path on the left side of the road. Follow this path as it climbs up the hill semi adjacent to the road. After about 10-15 minutes the path drops steeply back down to the path you started on. You should be able to see the road from here.
Walk across the road and the smaller parking area is ahead of you. If you parked at the Cutthroat bridge car park just follow the path you originally came down from the smaller car parking area.
✨ Share your photos in my Travel Photography Facebook group! ✨
Mistakes I Made / What I’d Do Differently
One mistake I made on this walk was starting a little later in the day than planned. By the time I reached the Ladybower Inn it was already starting to get dark. After stopping to eat, I ended up walking the final section of the route back through the hills in the dark. The path itself is straightforward, but navigating uneven ground and gates without daylight isn’t ideal, so I’d definitely recommend starting earlier to avoid rushing the last part of the walk.
I also very nearly missed the Salt Cellar. It’s not visible from the main path, so it’s easy to walk straight past it if you’re not paying attention. I only realised I was near it because I happened to check my phone and saw the location I had previously saved. When you reach the National Trust Derwent Edge sign, you need to walk over the brow of the hill to see it.
Kai’s mistake was wearing trainers. For most of the walk they were fine, but the boggy section along the stone slabs caused some problems. While I could walk straight through the wet areas with hiking boots and gaiters, he had to carefully hop between the stones trying to avoid the water, which eventually resulted in one very wet foot. Trainers can work in dry conditions, but they can definitely slow you down if the ground is wet.
Photography Tips
The Derwent Edge walk is my favourite hike around Ladybower Reservoir for landscape photography. The route passes several dramatic rock formations and elevated viewpoints, giving you constant opportunities to photograph the reservoir and surrounding hills from different angles.
One of the great things about this walk is the variety of compositions you can find along the ridge. From classic foreground elements to wide sweeping views, there are plenty of chances to practise different composition techniques as the landscape unfolds.
Whinstone Lee Tor
The first standout photography spot along the walk is Whinstone Lee Tor. From here you get a fantastic elevated view over Ladybower Reservoir.
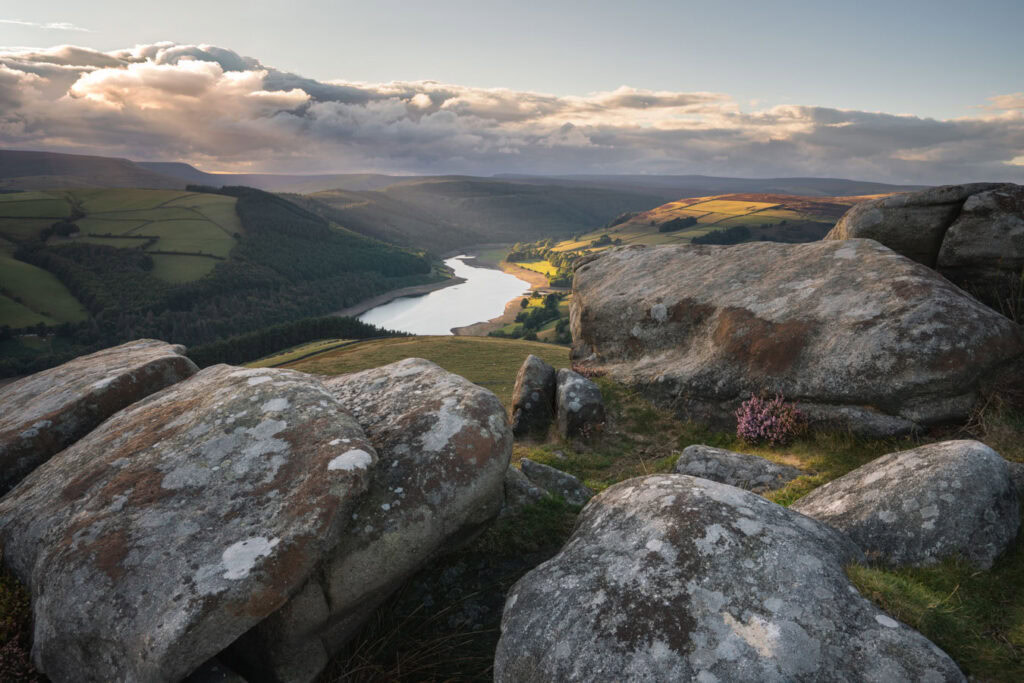
There are plenty of scattered rocks in the foreground which work well as foreground interest, helping add depth to the scene. This area looks particularly good during heather season when the purple tones of the heather contrast beautifully with the gritstone rocks and the landscape beyond.
This location works well at different times of day depending on the light direction, so it’s worth thinking about the timing of your visit if photography is a priority.
Salt Cellar
The Salt Cellar is one of my favourite landscape photography locations in the Peak District.
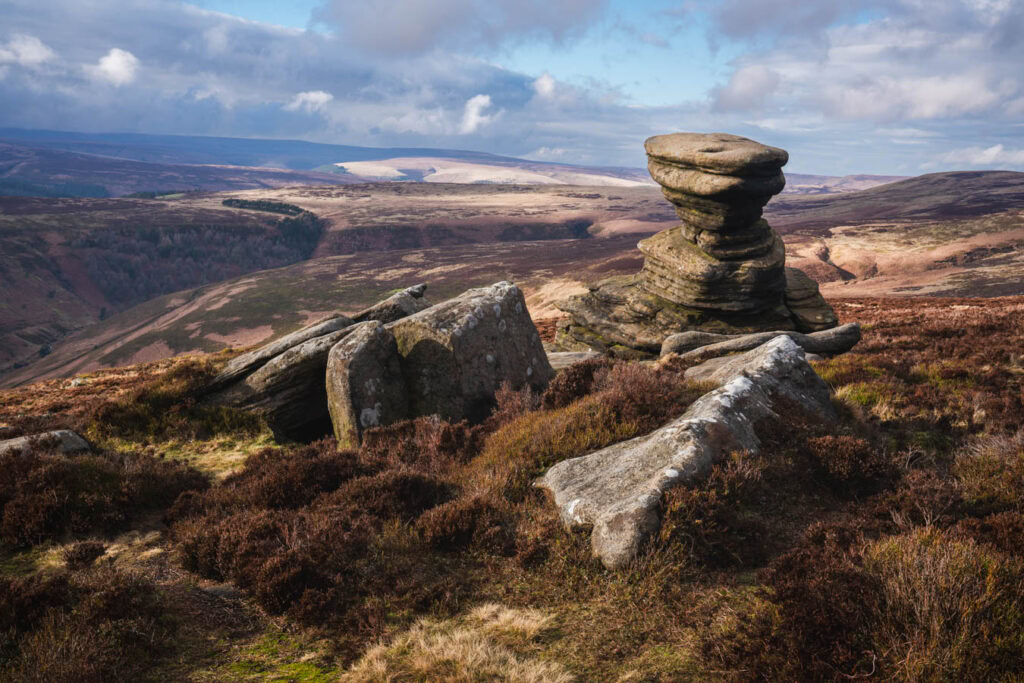
The rock formation sits perfectly on the edge of the ridge with rolling hills stretching out behind it. The natural shape of the rock makes it a strong subject while the surrounding landscape creates a dramatic backdrop.
Heather season would be particularly impressive here with purple heather surrounding the rock formation, although I haven’t yet managed to visit during that time of year. It took me a while to even find the location because it’s not visible from the main path.
Even on overcast days this area can work well for photography, especially if you understand how to work with cloudy conditions rather than waiting for perfect sunlight.
Broken Stone Wall
One of my favourite unexpected photography spots appeared later in the walk where the path passes a broken stone wall.
I hadn’t heard about this location before, but it creates a fantastic foreground feature with the Ladybower Reservoir valley stretching out behind it. When we passed this spot the setting winter sun lit up the landscape perfectly, creating a beautiful scene with warm light across the hills.
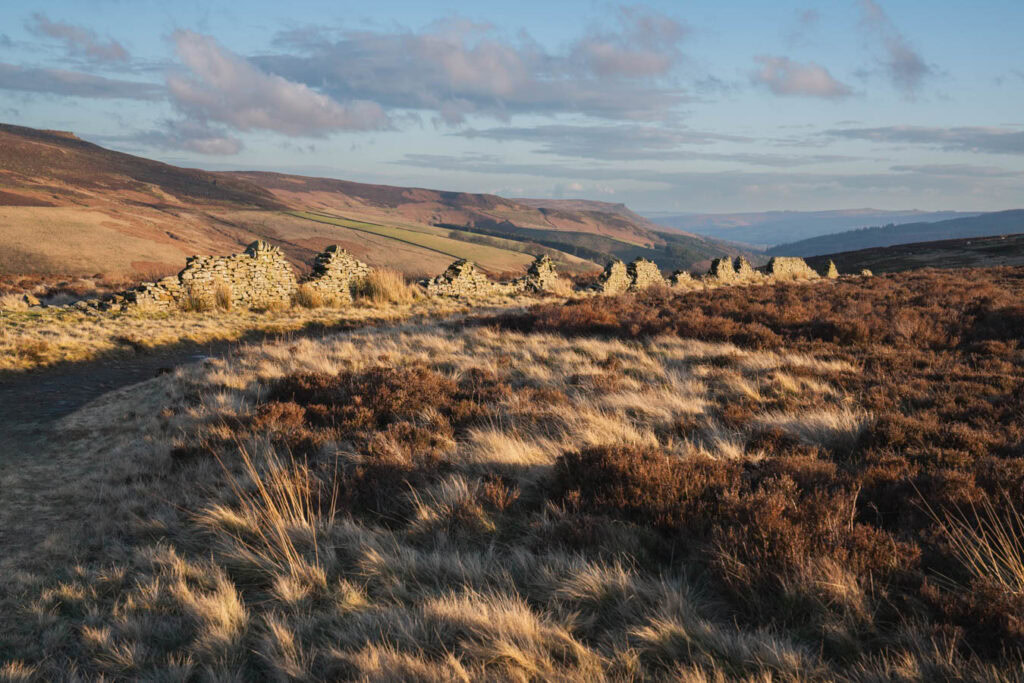
Foreground elements like this are a great way to add structure to your image, particularly when photographing large mountain landscapes where scale can otherwise feel overwhelming.
Along the Edge
As you continue walking along the ridge you’ll constantly get views across Ladybower Reservoir with Crook Hill rising in the distance.
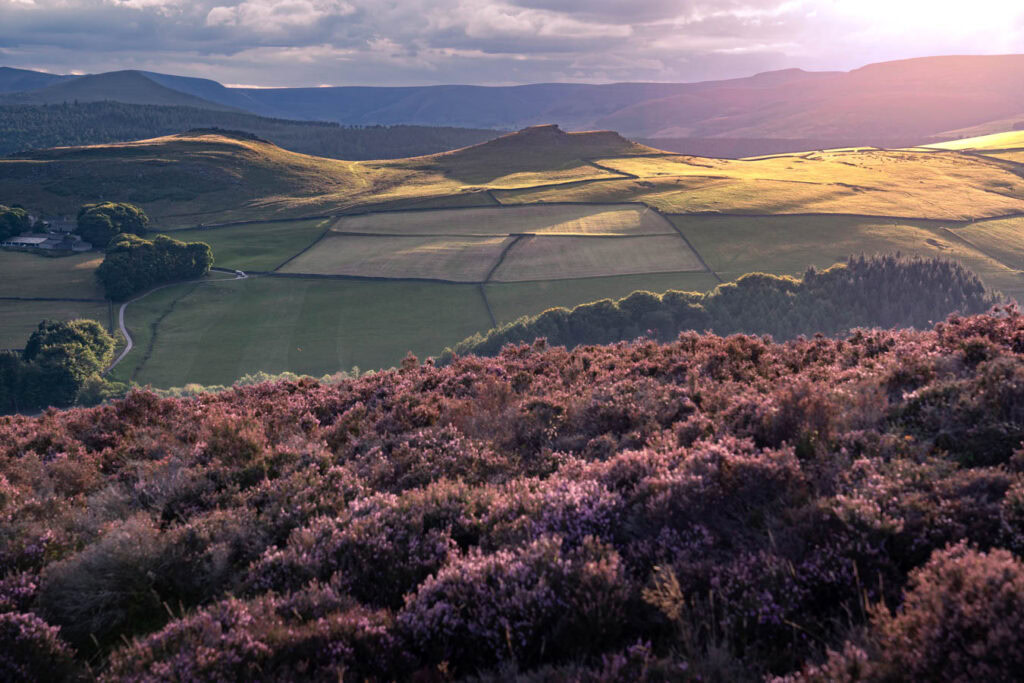
This creates great opportunities for layered compositions where the foreground moorland, the reservoir, and the surrounding hills all sit within the same frame. Depending on your lens choice you can either capture the entire landscape with a wide view or use a longer focal length to compress the hills and emphasise the layers.
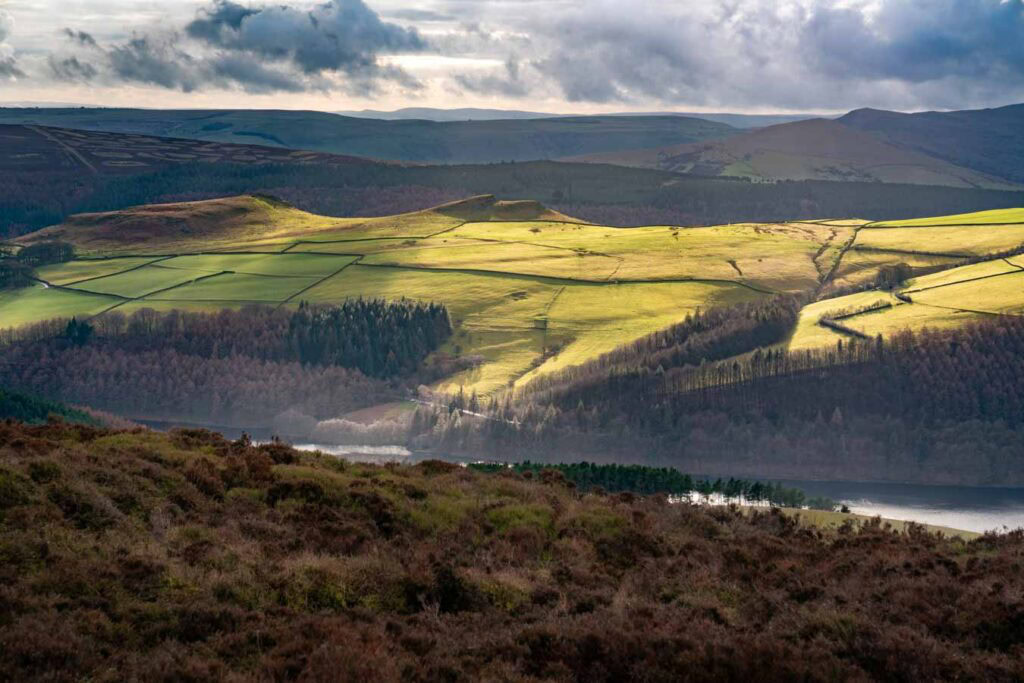
Understanding how settings like aperture and shutter speed affect your images can also make a big difference when photographing landscapes in changing light conditions.
One of the most interesting things about photographing this area is how different the landscape looks throughout the year. The contrast between winter scenes and late summer heather season can completely change the mood of the images, making it a location that’s worth revisiting in different seasons.
Improve Your Photos!
✨ FREE 11 Simple Tips To Elevate Your Travel Photos ✨
Simple, practical tips to take better travel photos – whether you’re using a camera or your phone!
👉 No confusing camera speak, no settings to mess around with, just easy tips you can use straight away 👈
Who is this Derwent Edge Hike for?
This Derwent Edge walk is ideal for hikers who enjoy big landscapes and classic Peak District gritstone scenery.
It’s particularly rewarding for photographers thanks to locations like the Salt Cellar and the sweeping views across Ladybower Reservoir.
The route suits walkers comfortable with moderate distances and steady climbs across open moorland terrain.
Facilities & Things to Know
Free parking is available at Cutthroat Bridge car park where the walk begins.
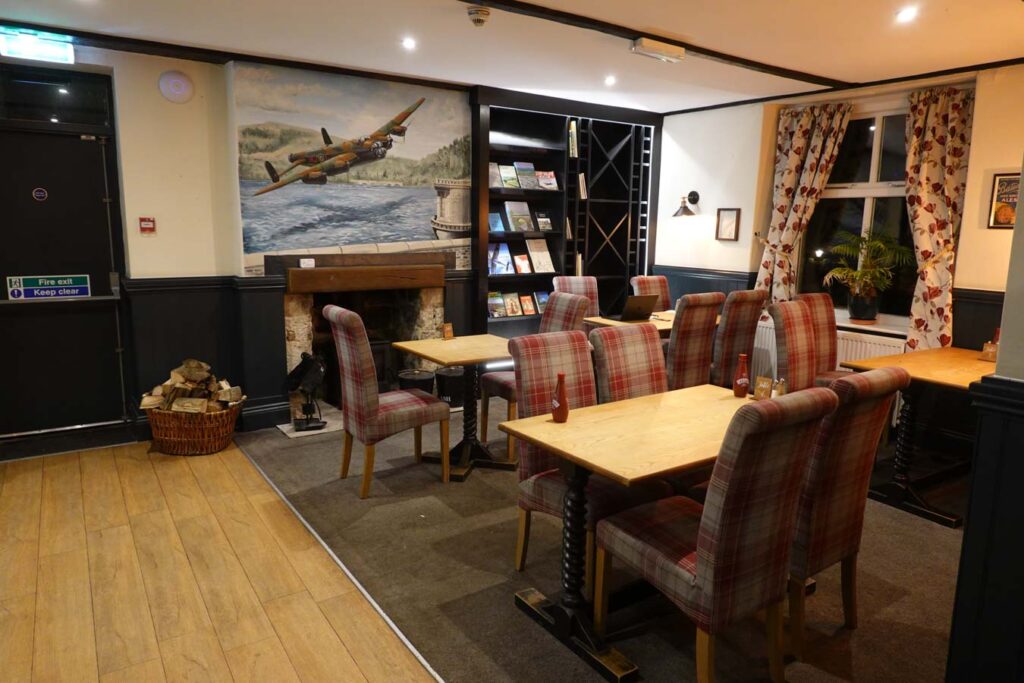
The Ladybower Inn sits near the end of the route and offers a convenient place for food or drinks after finishing the Derwent Edge circular walk. It’s also a great location to stay if you want a circular hike that starts and finishes at the place you’re staying.
Some sections of the route involve walking on the road without a pavement, so care is needed when traffic is present.
FAQs
How long is derwent edge walk?
Most hikes around Derwent Edge are around 16 km and typically take 5 to 5.5 hours to complete, depending on pace and how often you stop along the way.
is derwent edge walk suitable for beginners?
The Derwent Edge walk can be suitable for beginners, but it will likely feel challenging due to its length and sections that require basic navigation. Walking boots are recommended, especially in wet conditions.
is derwent edge Difficult?
The Derwent Edge walk is considered moderately difficult due to its length and sections where navigation may be required, especially in poor visibility.
what are the rocks on derwent edge?
Derwent Edge is known for its dramatic gritstone rock formations, which have been shaped by erosion over thousands of years. Many of the rocks have been given names based on their unusual shapes.
Is derwent edge worth visiting?
Yes, Derwent Edge is well worth visiting. The hike offers some of the best views over Ladybower Reservoir and is a fantastic spot for photography, with dramatic rock formations and sweeping moorland scenery along the route.
Can you walk from ladybower to derwent edge?
Yes, you can walk from Ladybower Reservoir to Derwent Edge. Simply follow the A6013 from the reservoir towards the Ladybower Inn, where you can begin the hike up to the edge.
Why the Derwent Edge Walk Is Worth Doing
The Derwent Edge walk is one of the most rewarding ridge hikes around Ladybower Reservoir. The route combines sweeping views, dramatic gritstone rock formations and a varied landscape that constantly changes as you move along the edge. From the first viewpoint looking down over the reservoir to the famous Salt Cellar and the open moorland beyond Lost Lad, the walk feels like a true Peak District adventure.
For photographers, this route is particularly special. Locations like Whinstone Lee Tor, the Salt Cellar and the viewpoints along the ridge provide fantastic opportunities for landscape photography. Whether you’re capturing the purple tones of heather season, dramatic cloud formations rolling over the hills, or the golden light hitting Ladybower Reservoir, there are plenty of compositions to work with throughout the hike.
If you still have some energy left after finishing the walk, it’s well worth heading over to Derwent Dam. It’s only a short drive away and offers another iconic viewpoint of the reservoir. The dam itself is a fascinating piece of engineering and the surrounding scenery makes it a great place for a short walk or a few more photos before heading home.
Overall, the Derwent Edge walk is a brilliant mix of classic Peak District scenery, interesting rock formations and outstanding photography spots. If you enjoy hikes with big views and plenty of opportunities to capture the landscape, this is definitely one to add to your list.
See More of the Peak district
- The Best Win Hill Walk Via Ladybower Reservoir
- Derwent Dam Walk: Best Easy Walk In Ladybower
- Chrome Hill Walks: 2 Best Routes With Photo Tips
- Derwent Edge Walk: Peak District Circular with Salt Cellar
- Crook Hill Walk: Quiet Ladybower Circular Route
- Ladybower Reservoir Circular Walk & The Lost Villages Trail
- Bamford Edge Walk: Best Views In The Peak District
- Best Ladybower Reservoir Photography Spots (Local Guide)
- Dovedale Walk: Stepping Stones, Milldale & The Best Easy Peak District Route
- Thor’s Cave Walk From Warslow
- 8 Best Walks At Ladybower Reservoir For All Levels
- Brackenfield Alpacas Trek Review Near Matlock
More UK Inspiration
- Snowdonia Photography – 11 Breathtaking Locations
- The Weekend Guide to Pembrokeshire in Wales!
- Beautiful cabins in North Wales where you need to stay!
- Five of the Best Dorset Photography Locations
- 10 Beautiful Places in North Wales for Photography
- Isle of Skye Photography Guide – 15 Stunning Locations
- 13 Beautiful Places for Landscape Photography in Scotland
